
This post may contain affiliate links. Please read our disclosure policy.
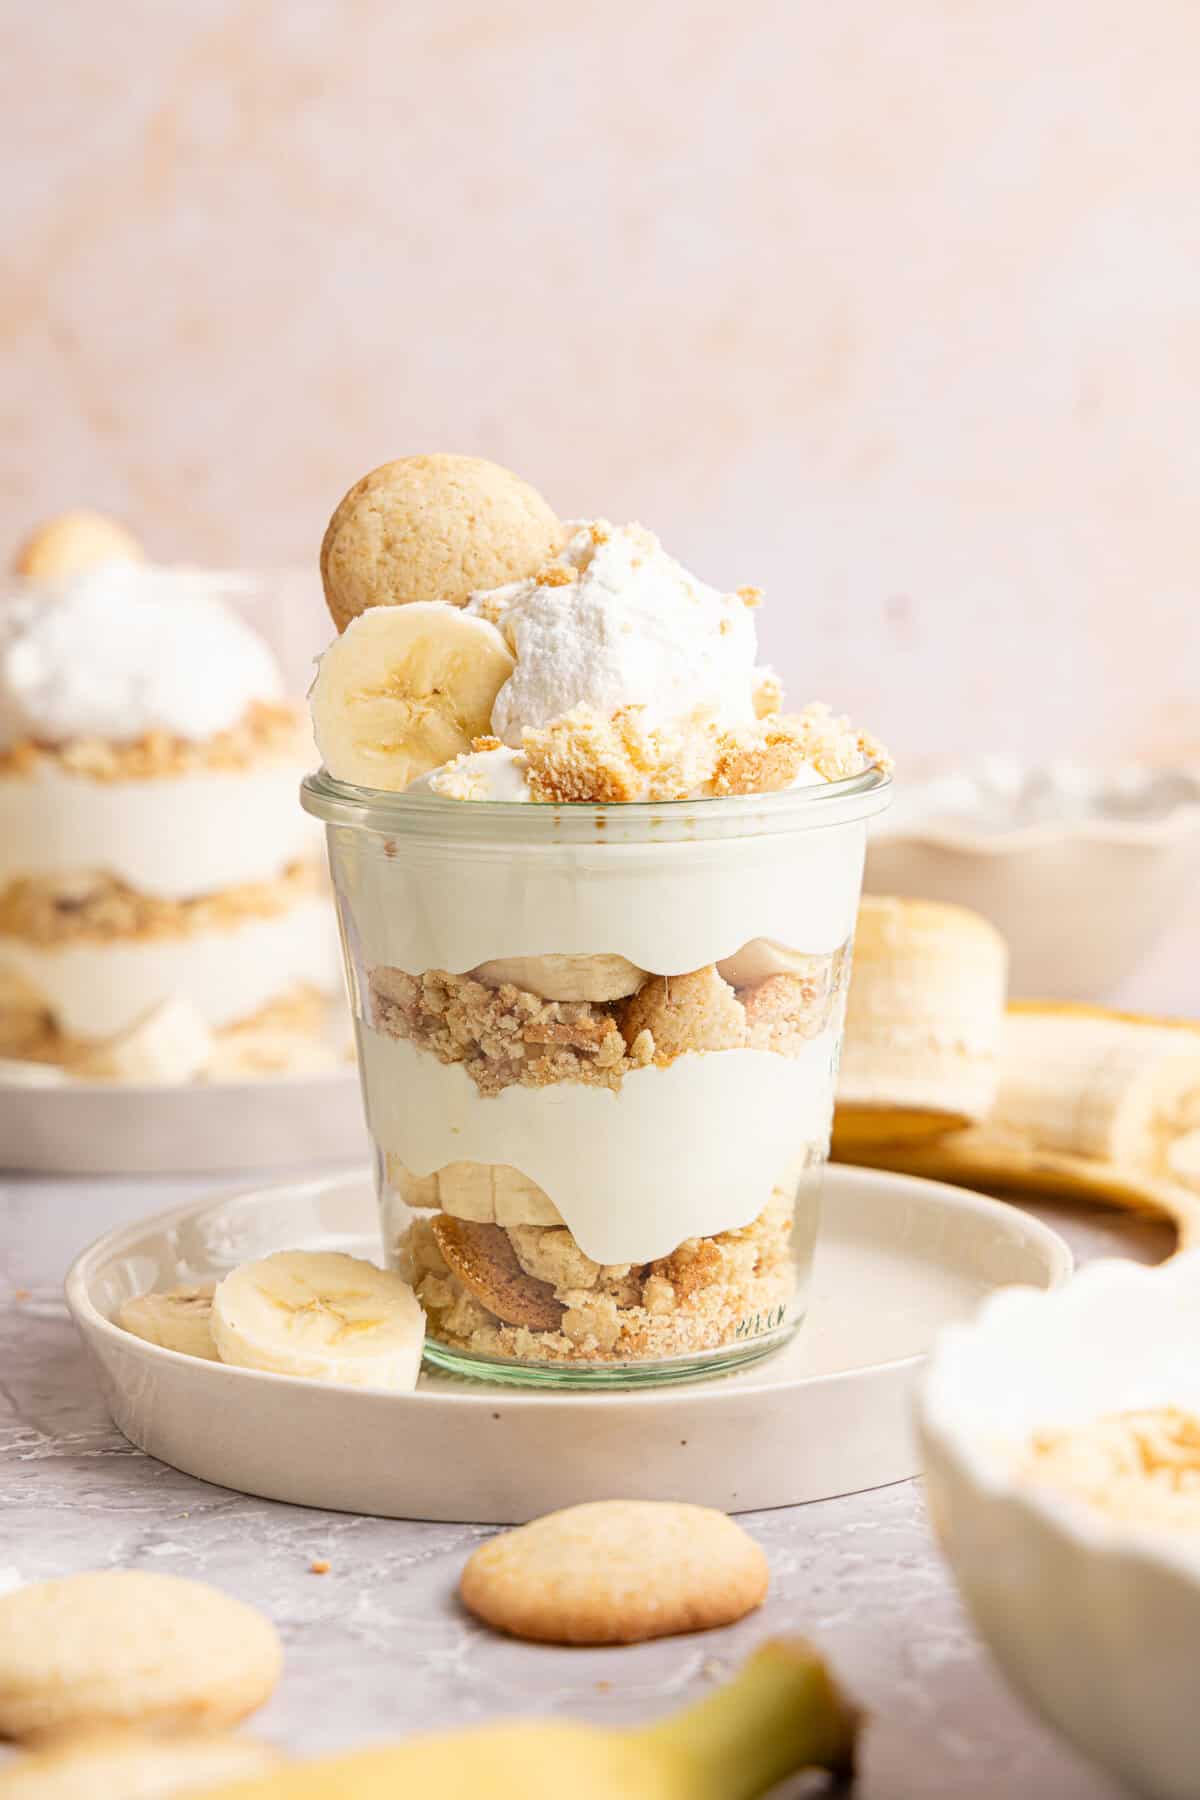
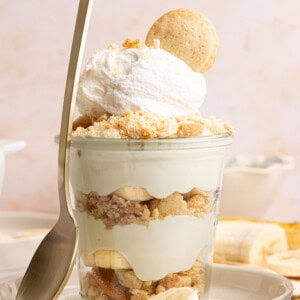
This protein banana pudding recipe is an easy, gluten-free dessert cup made with Greek yogurt, cottage cheese, vanilla protein powder, fresh bananas, and crushed vanilla wafers. It has that classic banana pudding flavor with soft cookie layers and a thick vanilla filling, but the extra protein makes it a little more satisfying for an afternoon snack or quick dessert!
Quick Look: High Protein Banana Pudding
- ⏱️ Prep Time: 10 minutes
- 🍳 Cook Time: 0 mintues
- 🕒 Total Time: 10 minutes
- 👥 Servings: 4
- 📊 Calories: ~380 kcal per serving (based on nutrition panel)
- 👩🍳 Flavor Profile: creamy, classic banana pudding with a high protein twist!
- ⭐ Difficulty: Easy make-ahead snack or treat.
SUMMARIZE & SAVE THIS CONTENT ON
Why You'll Love Protein Banana Pudding
If you’ve been following along for a while, you know I love turning classic favorites into high-protein recipes that are more satisfying and nourishing than the originals - like my carrot cake baked oats and chocolate chia seed pudding.
These high protein banana pudding cups come together in just a few minutes with no baking required! My kids love these too, especially once the wafers soften into that classic banana pudding texture.
I also love how simple the ingredient list is. The Greek yogurt and cottage cheese make the filling thick and creamy without needing instant pudding mix, and the individual cups are great for prepping ahead for snacks or dessert.
Ingredients You'll Need
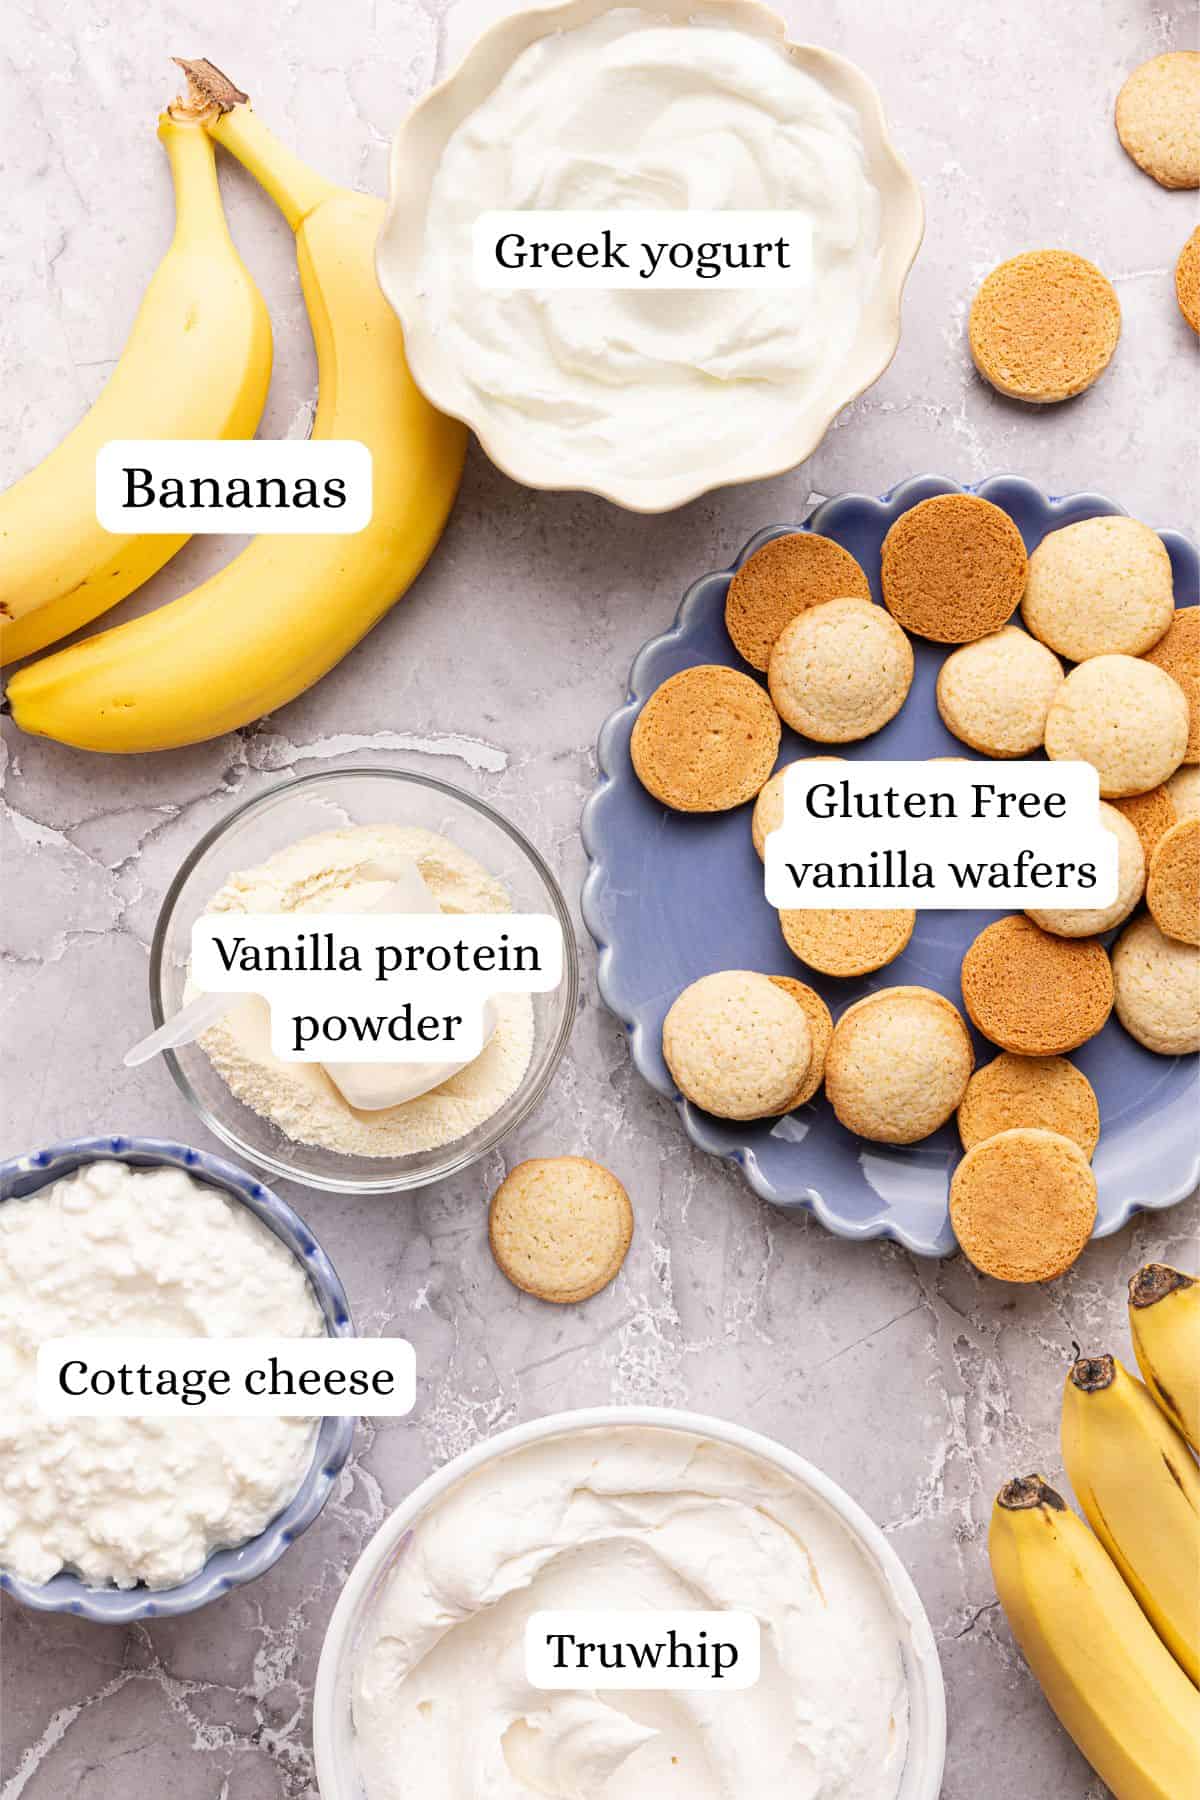
- Gluten Free Vanilla Wafers: I used Kinnikinnick brand. They soften nicely in the layers and give these cups that classic banana pudding texture we all love!
- Bananas: The star here! Use ripe bananas with yellow peels and just a few spots. Overripe bananas tend to get too soft once layered (save them for my high protein chocolate chip banana bread instead!).
- Plain non-fat Greek yogurt: This gives the filling a tangy, thick texture and adds extra protein.
- Cottage cheese: I used 2%. It blends into a creamy pudding base, especially if you use an immersion blender.
- Vanilla protein powder: I use and love Clean Simple Eats. A good vanilla protein powder makes a big difference here!
- Truwhip whipped topping: Adds a light, fluffy finish and makes the cups feel a little more like classic banana pudding.
How to Make Banana Pudding Cups
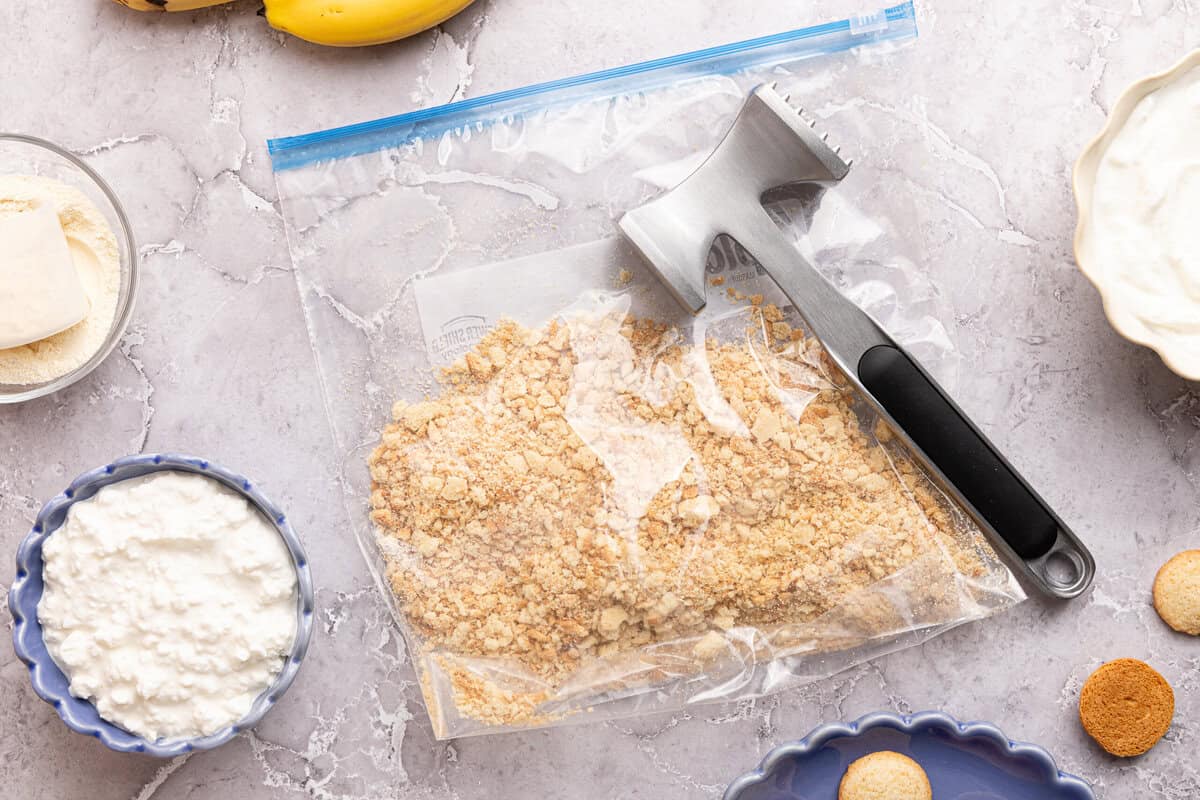
Step 1: Add most of the wafers to a plastic bag and crush them up into pieces using a meat mallet or hammer. Make sure to set 4 aside before doing this for the garnish. Try to keep some small cookie chunks instead of crushing them into fine crumbs so you still get texture in the layers.
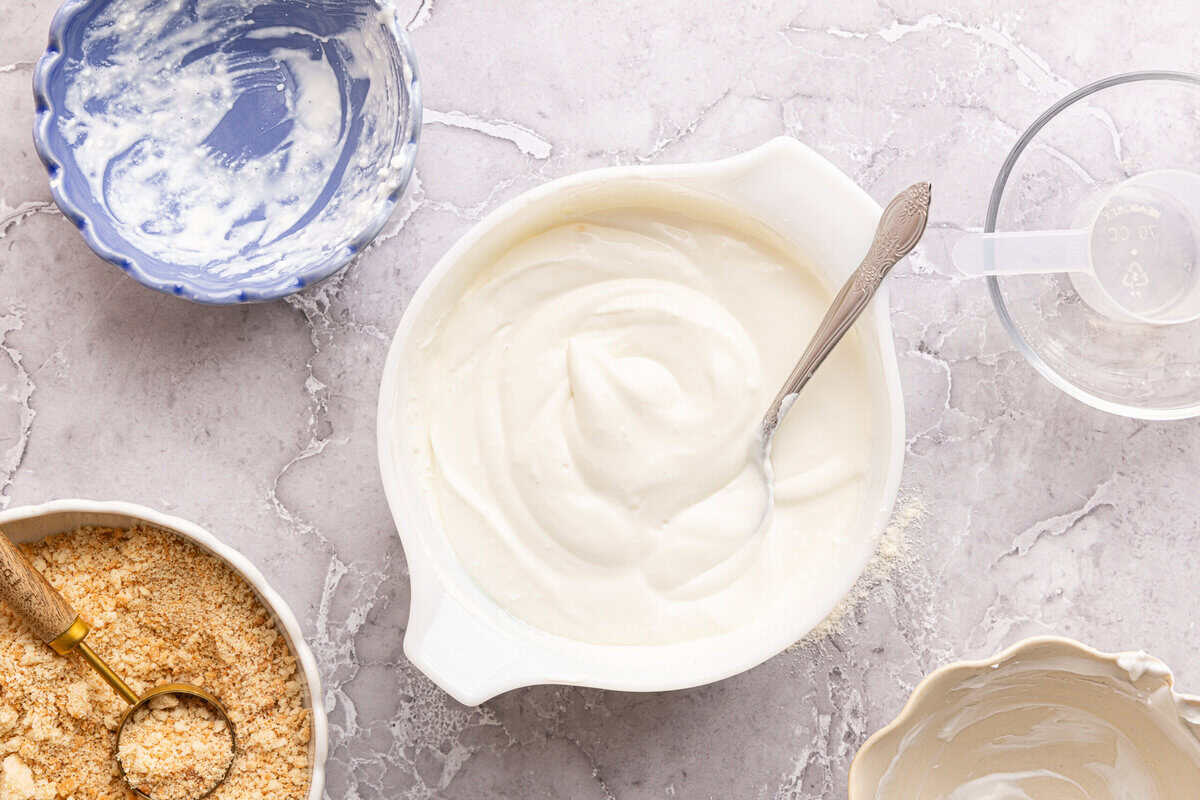
Step 2: Add the Greek yogurt, cottage cheese, and protein powder into a bowl and mix until combined. If you don't like the cottage cheese curds, you can use an immersion blender to mix it all until smooth. The mixture should look thick and creamy, almost like a soft vanilla cheesecake filling.
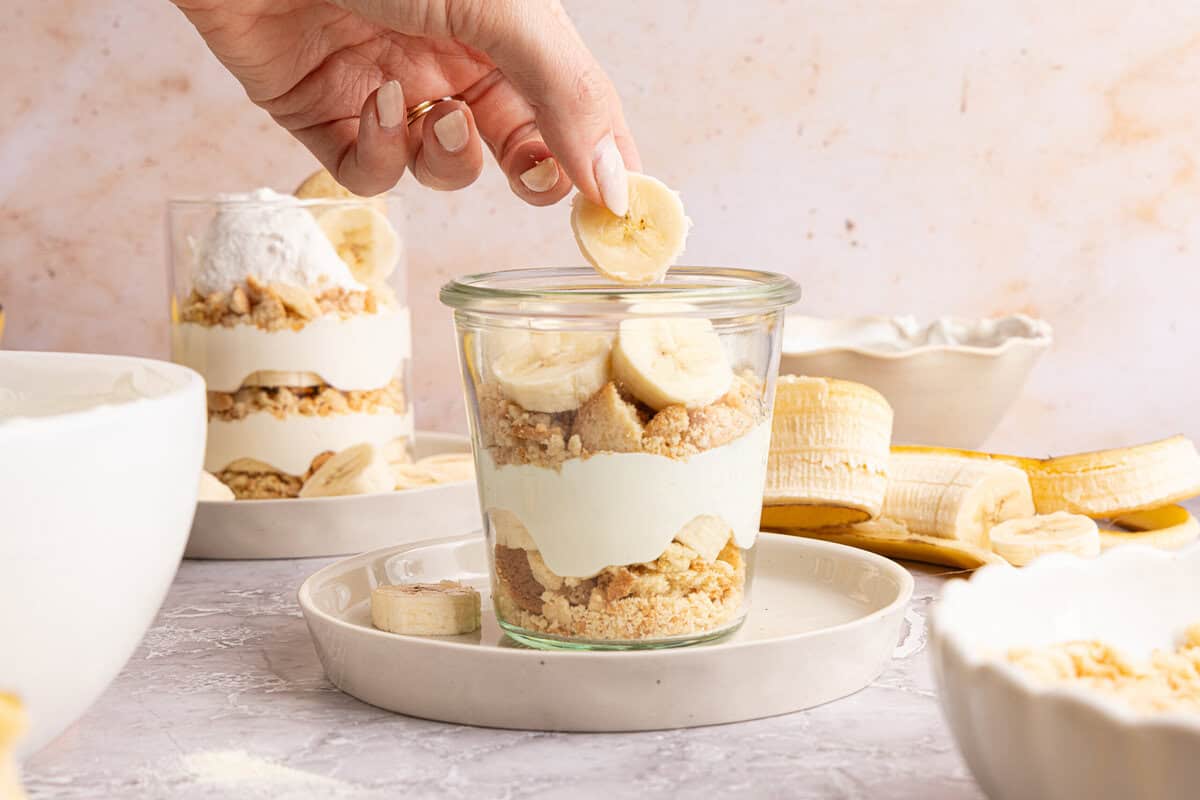
Step 3: Time to layer. To 4 glass cups, add 2 tbsp crushed up vanilla wafers, followed by 4-5 banana slices, about ¼ cup of the vanilla "pudding", and then repeat with another layer of wafers, banana slices, and more pudding.
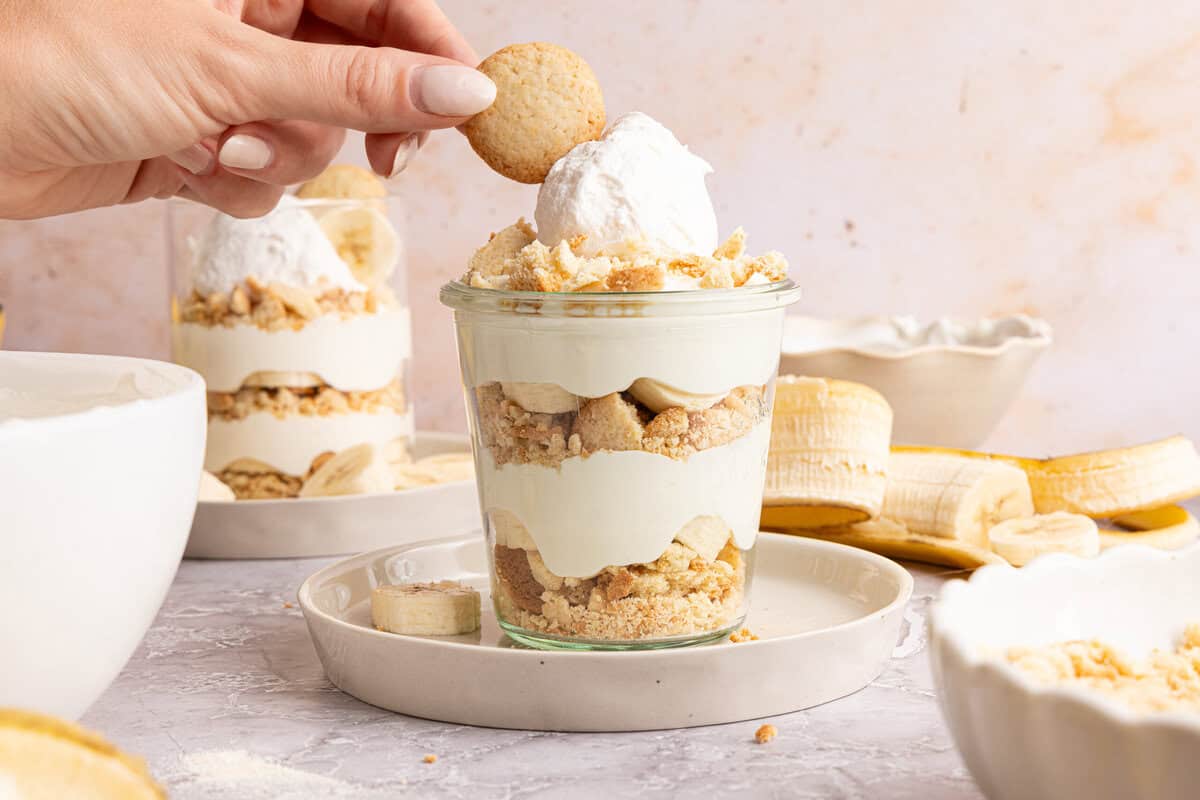
Step 4: I added a few more crushed wafers on top, followed by a large dollop of Truwhip whipped topping and a full cookie on top for garnish. Enjoy!
Expert Tips
- If you want the filling extra smooth, blend the cottage cheese mixture for a full minute or two. Once blended, it loses that curd texture completely and tastes much more like traditional pudding!
- Don't skip reserving a few whole wafers for garnish before crushing the rest. It's a small detail, but it makes the finished cups look pretty with no extra effort.
- The wafers soften more as the cups sit. Right after assembling, they still have a little crunch. After a few hours in the fridge, they turn softer and cake-like, which is my favorite texture for banana pudding!
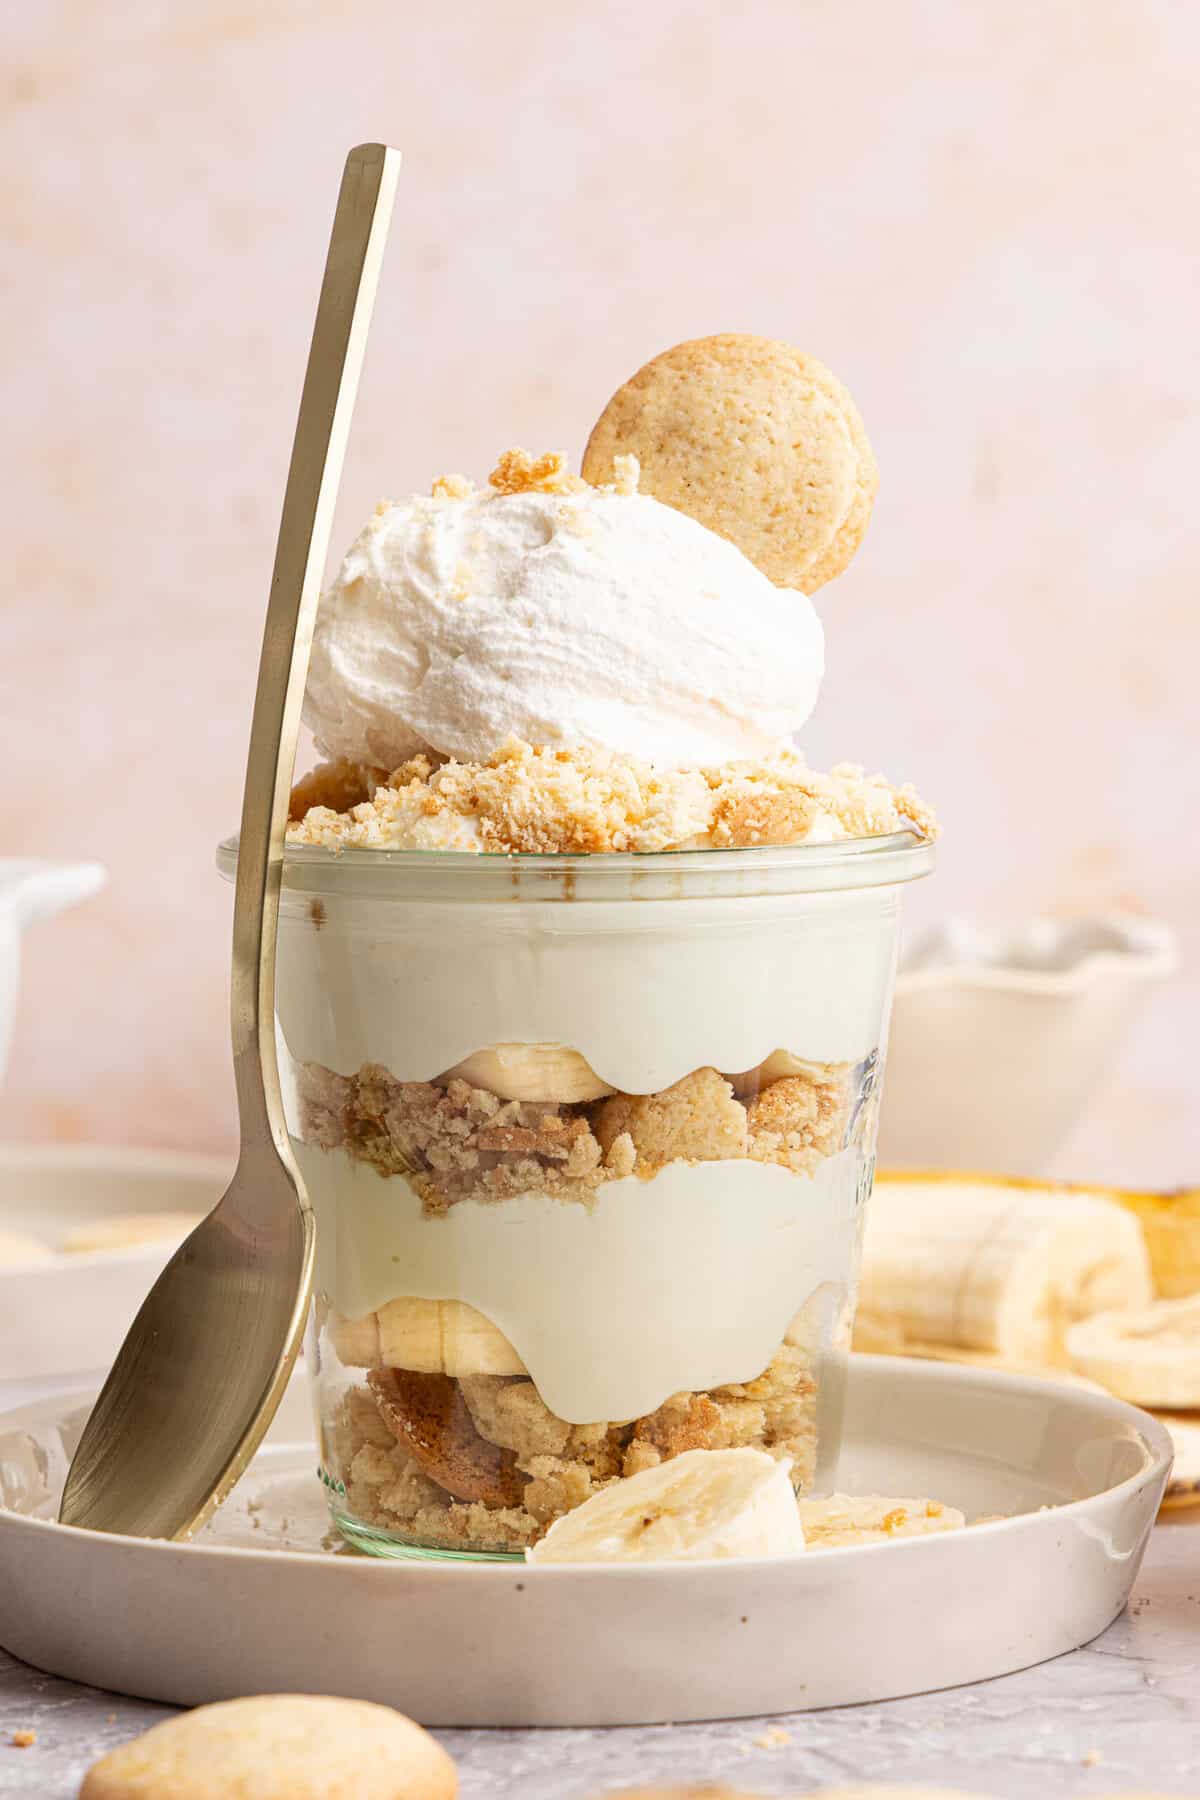
- Glass jars or dessert cups work really well here because you can see all the layers. They also make this easy recipe feel fun for a party or baby shower dessert table.
Storage & Make-Ahead Tips
- If you're making them ahead for a party or meal prep, you can mix the pudding layer a day in advance and keep it refrigerated separately. Then assemble the cups closer to serving so the bananas stay fresher and the wafers keep a little texture.
- Store these assembled banana pudding cups covered in the fridge for up to 2 days.
- I don't recommend freezing the pudding-for a freezer-friendly recipe, try my healthy protein banana muffins.
Recipe FAQs
Yes! This easy banana pudding is best within 1 to 2 days after assembling. The wafers continue to soften as they sit, and the bananas can start browning after a couple of days.
Yes. You can layer everything into one 8×8 baking dish if you prefer more of a traditional banana pudding setup.
More Protein Dessert Recipes


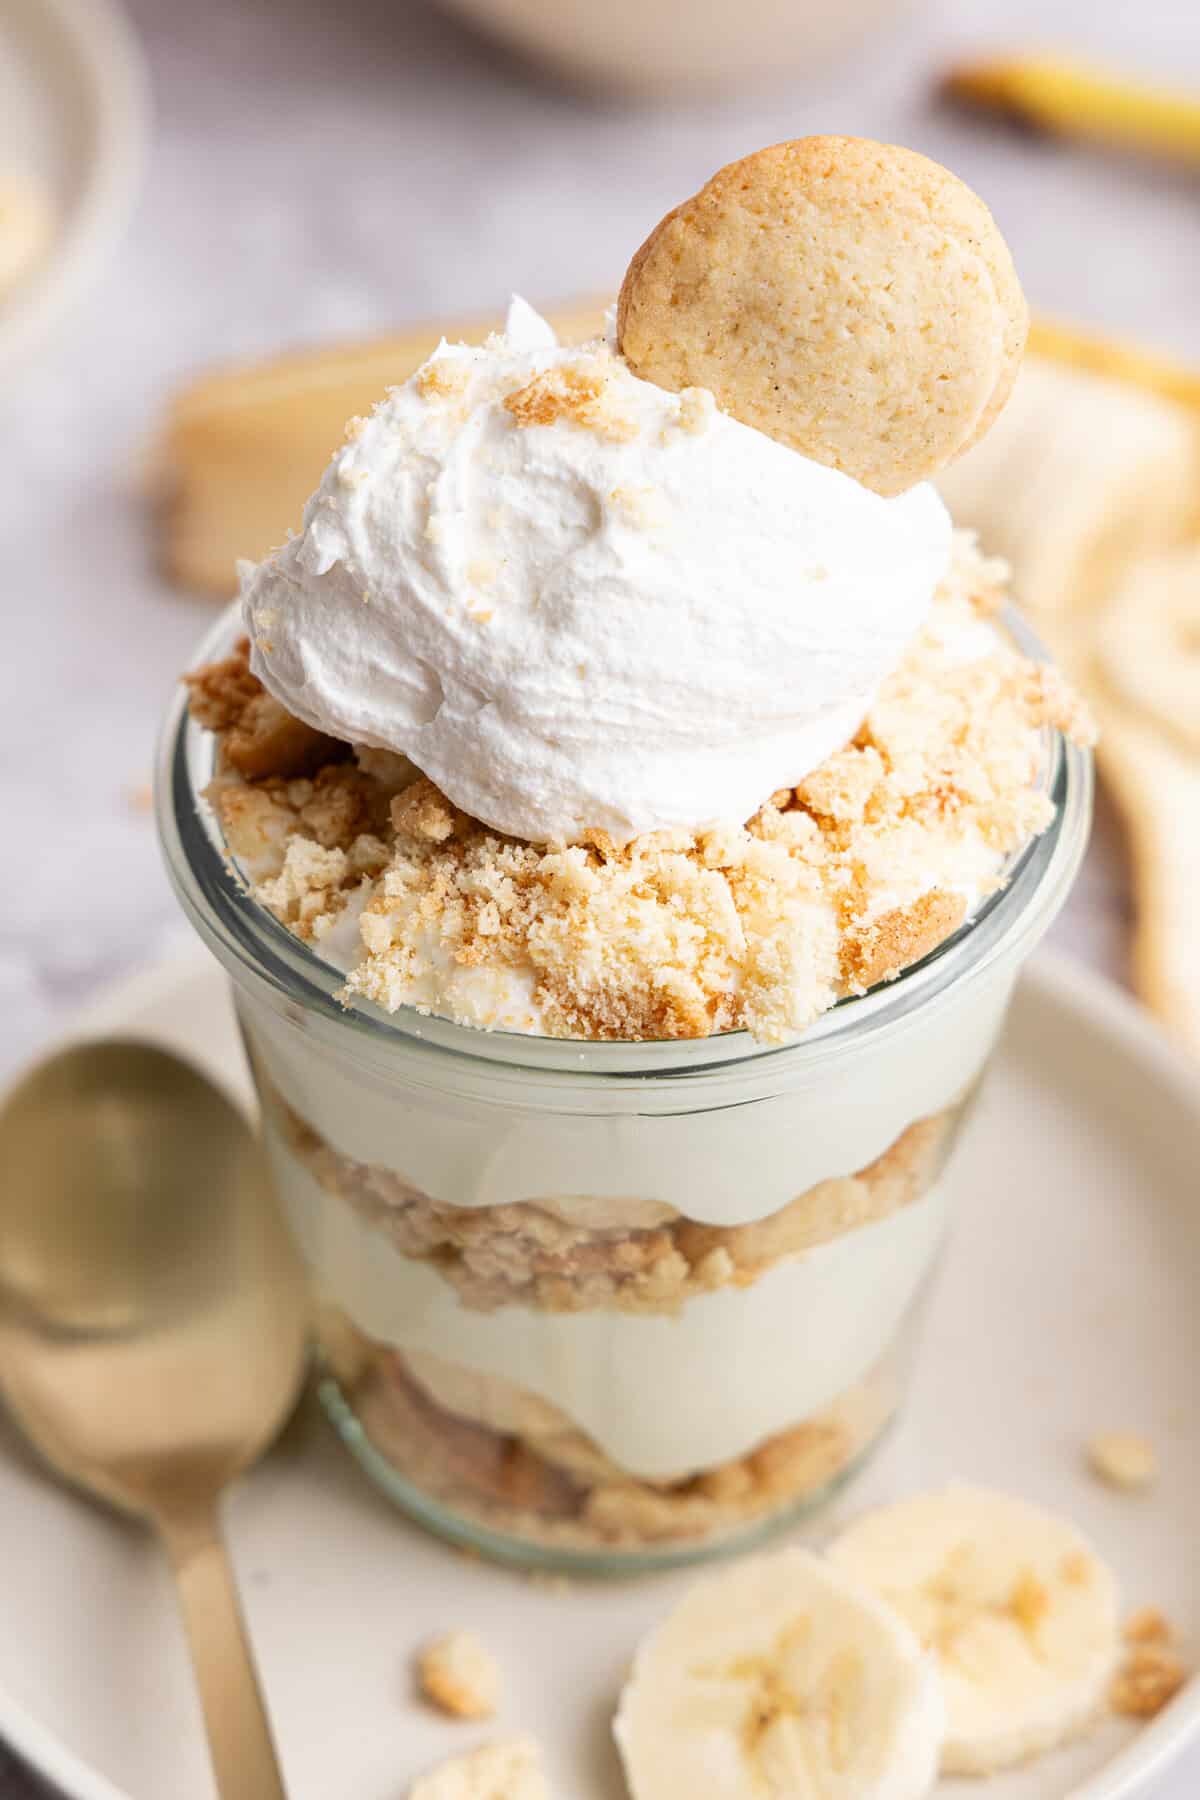
High Protein Banana Pudding Cups
Equipment
Ingredients
- 6.3 oz Gluten Free Vanilla Wafers, I used Kinnikinnick brand – one box
- 2 bananas, sliced into ¼ inch rounds
- 1 cup plain non-fat Greek yogurt
- 1 cup cottage cheese, I used 2%
- 1 scoop vanilla protein powder, I use Clean Simple Eats
- ½ cup Truwhip whipped topping, for garnish
Instructions
- Add most of the wafers to a plastic bag and crush them up into pieces using a meat mallet or hammer – make sure to set 4 aside before doing this for the garnish!
- Add the Greek yogurt, cottage cheese, and protein powder into a bowl and mix until combined. If you do not like the cottage cheese curds, you can use an immersion blender to mix it all until smooth.
- Time to layer: To 4 glass cups, add 2 tbsp crushed up vanilla wafers, followed by 4-5 banana slices, about ¼ cup of the vanilla "pudding", and then repeat with another layer of wafers, banana slices, and more pudding.
- I added a few more crushed wafers on top, followed by a large dollop of Truwhip whipped topping and a full cookie on top for garnish.
Notes
- If you want the filling extra smooth, blend the cottage cheese mixture for a full minute or two. Once blended, it loses that curd texture completely and tastes much more like traditional pudding!
- Don't skip reserving a few whole wafers for garnish before crushing the rest. It's a small detail, but it makes the finished cups look pretty with no extra effort.
- The wafers soften more as the cups sit. Right after assembling, they still have a little crunch. After a few hours in the fridge, they turn softer and cake-like, which is my favorite texture for banana pudding!
- Glass jars or dessert cups work really well here because you can see all the layers. They also make this easy recipe feel fun for a party or baby shower dessert table.
- Store these assembled banana pudding cups covered in the fridge for up to 2 days.
- I don't recommend freezing the pudding-for a freezer-friendly recipe, try my healthy protein banana muffins.
- If you're making them ahead for a party or meal prep, you can mix the pudding layer a day in advance and keep it refrigerated separately. Then assemble the cups closer to serving so the bananas stay fresher and the wafers keep a little texture.
Nutrition
All nutrition facts are an estimate and automatically calculated. While I fact check them using My Fitness Pal, please note that they may not always be 100% accurate and depend on ingredients used. Weigh your total and divide by the number of servings for the most accurate grams per serving size.


So filling and a trip to childhood with the vanilla wafers. I’d prefer a different protein powder to the one I used- but that’s on me! Otherwise- delicious!